Digital Image File Formatting
The quickest way to get your images ready for digital projection in the club competitions is to use StereoPhoto Maker. The link to download this program (if you don't already have it) is on our links page.
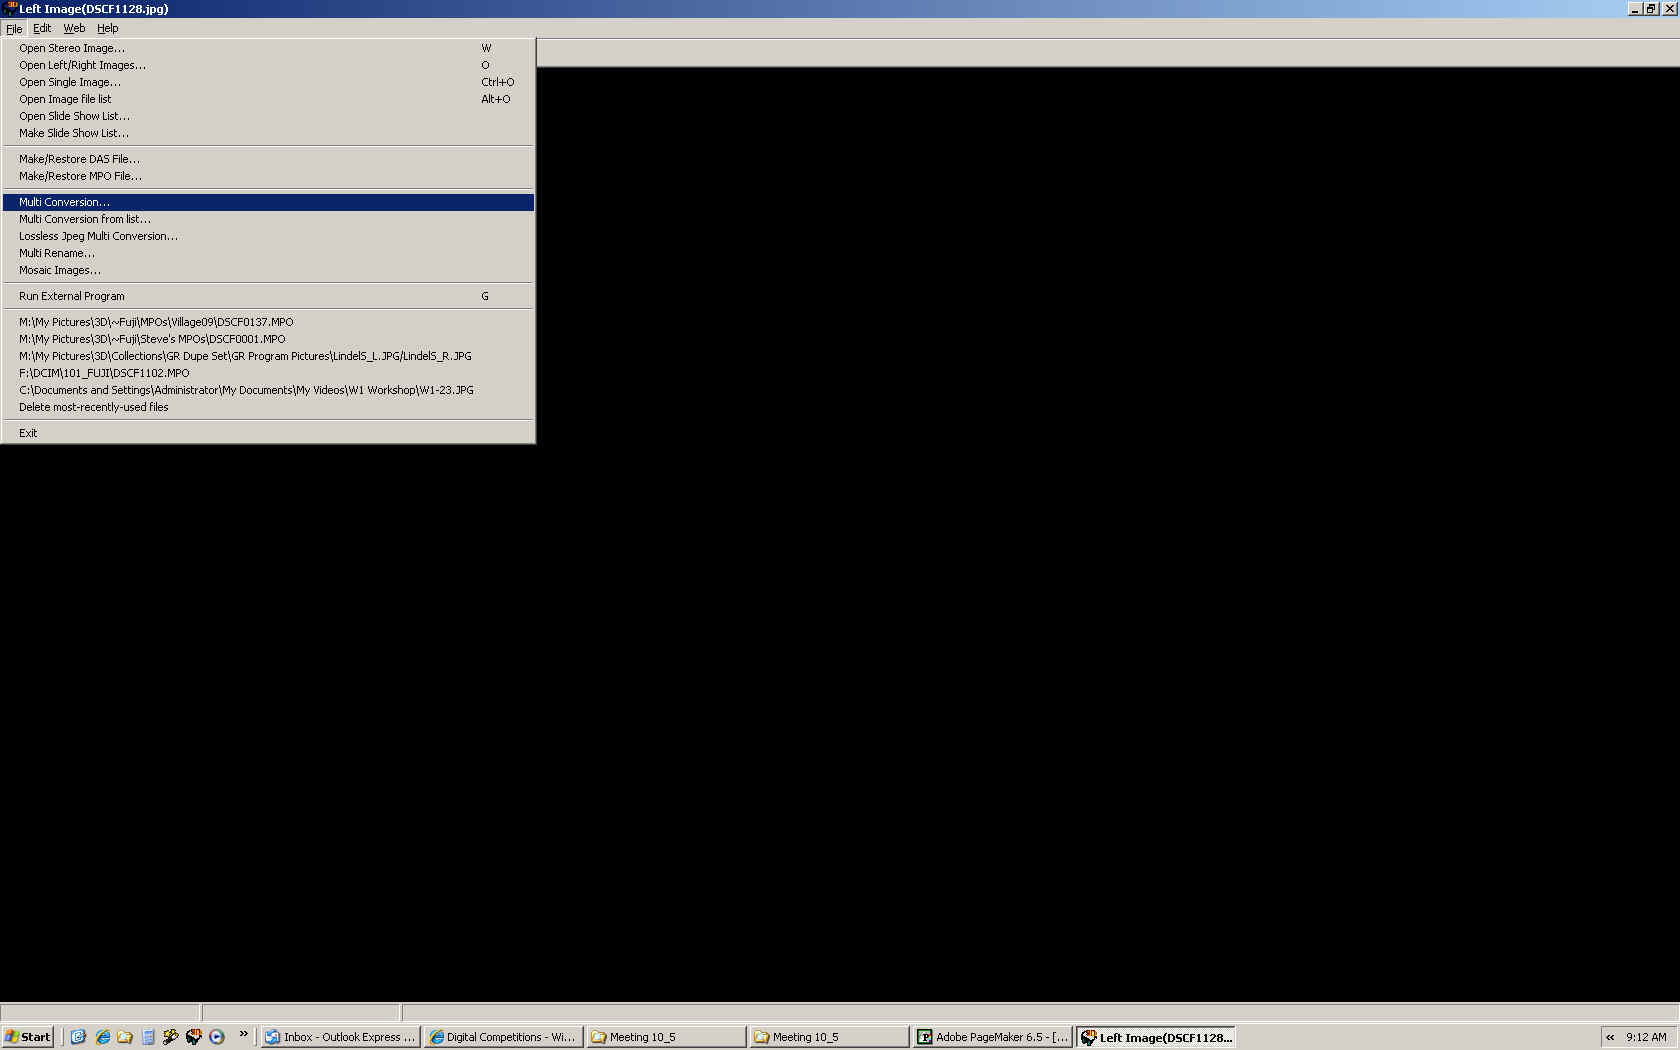
Open StereoPhoto Maker (SPM) and go to File...MultiConversion.
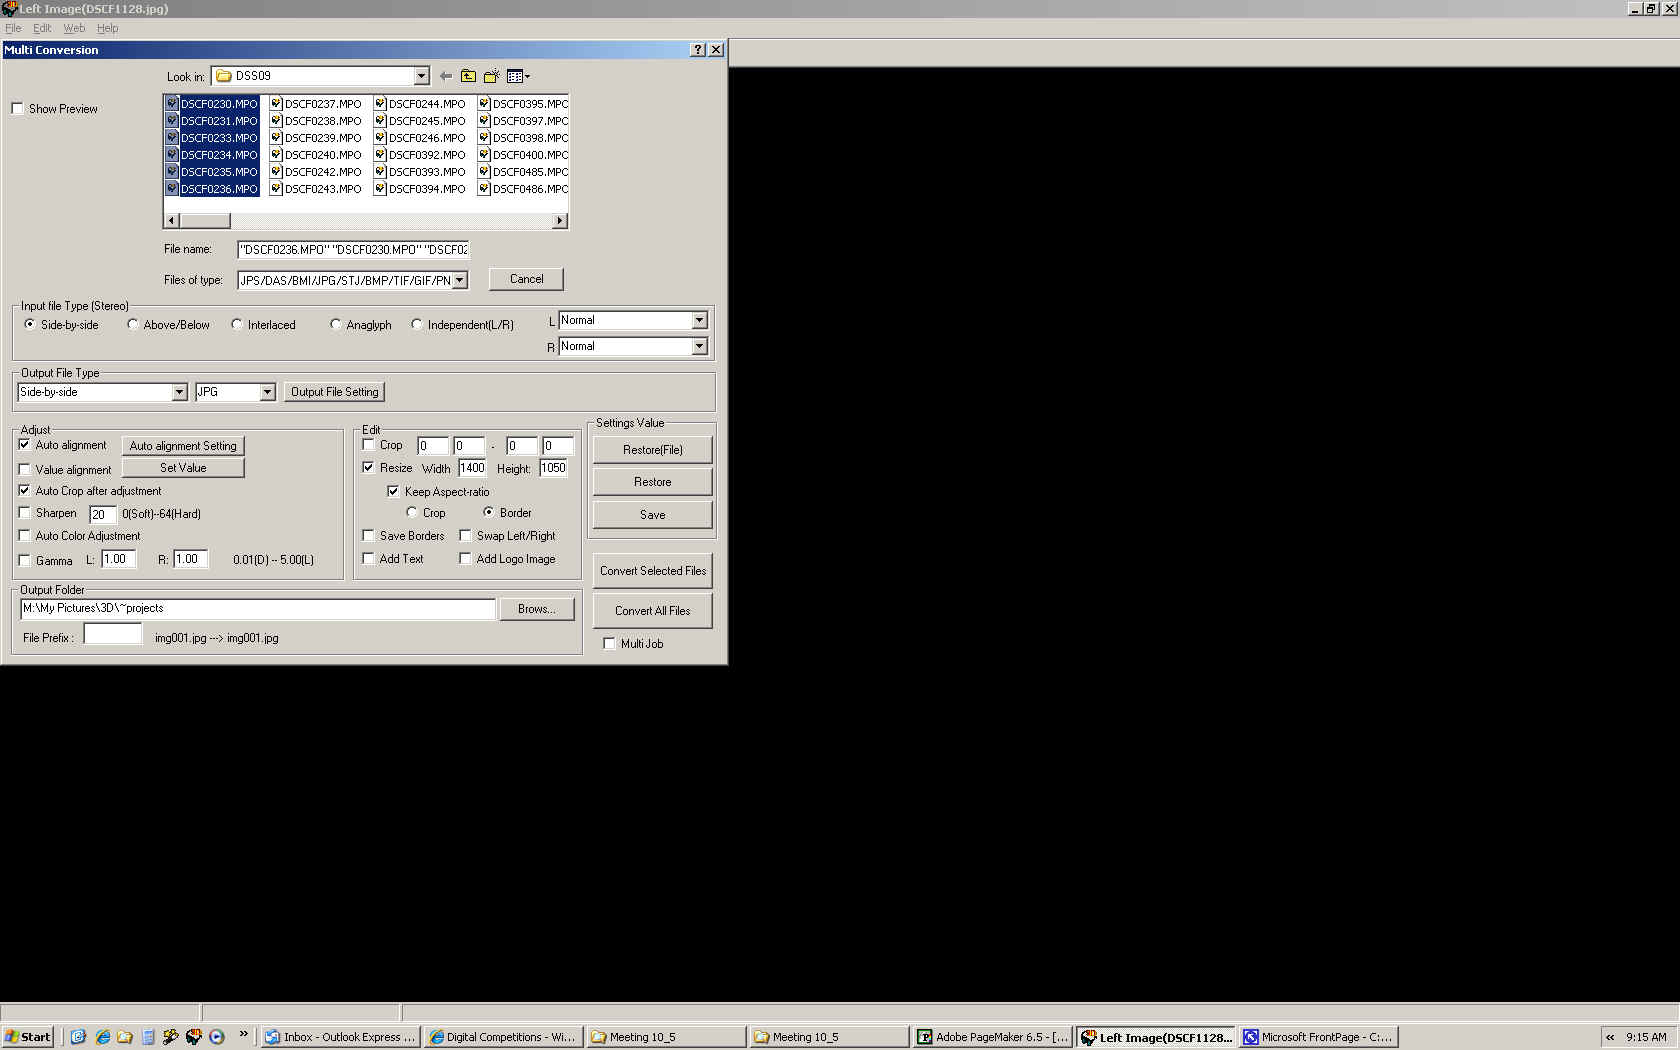
Here are the settings you need (see screen shot below). Find the images you want to format using the "Look in:" dropdown box. Select the images you want and check the following options:
1. Input file type - MPO files (from a Fuji camera) are Side-by-side. Stereo pairs (from twin cameras or cha-cha shots) are "Independent (L/R)".
2. Output file type - should be Side-by-side in JPG format.
3. Check the "Auto alignment", "Auto Crop after adjustment", "Resize" and "Keep Aspect Ratio" boxes. The resize width should be 1400 and the height should be 1050. These are the image dimensions we want for projection (measured in pixels).
4.After checking "Keep Aspect Ratio", the buttons for "Crop" and "Border" will appear - click the "Border" button. This will center your images with black on the sides so they can be projected.
5. Output Folder - click the Browse button to find the folder where you want to save your formatted images.
6. Click on the "Convert Selected Files" button. SPM will do the rest.
7. Rename the files using the club file naming convention (see our Digital Competitions page), copy them to a flash drive, and bring them to the meeting. That's all there is. It will become easy after doing it a couple of times.
If you have any questions, contact Al Huberty or Dennis Green.
This page was last updated on 09/18/12
.
Copyright © 2009-2010 Detroit Stereographic Society. All
rights reserved.